Maybe it started with a scroll through Insta—someone’s hand decked out in swooping vines and dots that look like they took hours.
Or maybe a friend showed up to brunch with the kind of temporary tattoo that made your regular nail polish feel wildly underdressed. Whatever got you thinking about henna, you’re here now, and that’s a solid start.
Henna, also known as mehndi, is one of the oldest forms of body art out there. It’s natural, temporary, and packed with cultural history. But for beginners, it can feel a bit mysterious—like, how does a pile of green powder turn into a beautiful design that lasts for days?
Spoiler: it’s not magic, but it is satisfying once you get the hang of it. This guide will walk you through everything you need to know—making the paste, applying it without disaster, and keeping the stain strong.
The Basics You Need to Know
Henna originates from the leaves of a plant called Lawsonia inermis. Cultures in South Asia and the Middle East frequently use it for celebrations such as weddings or religious festivals.
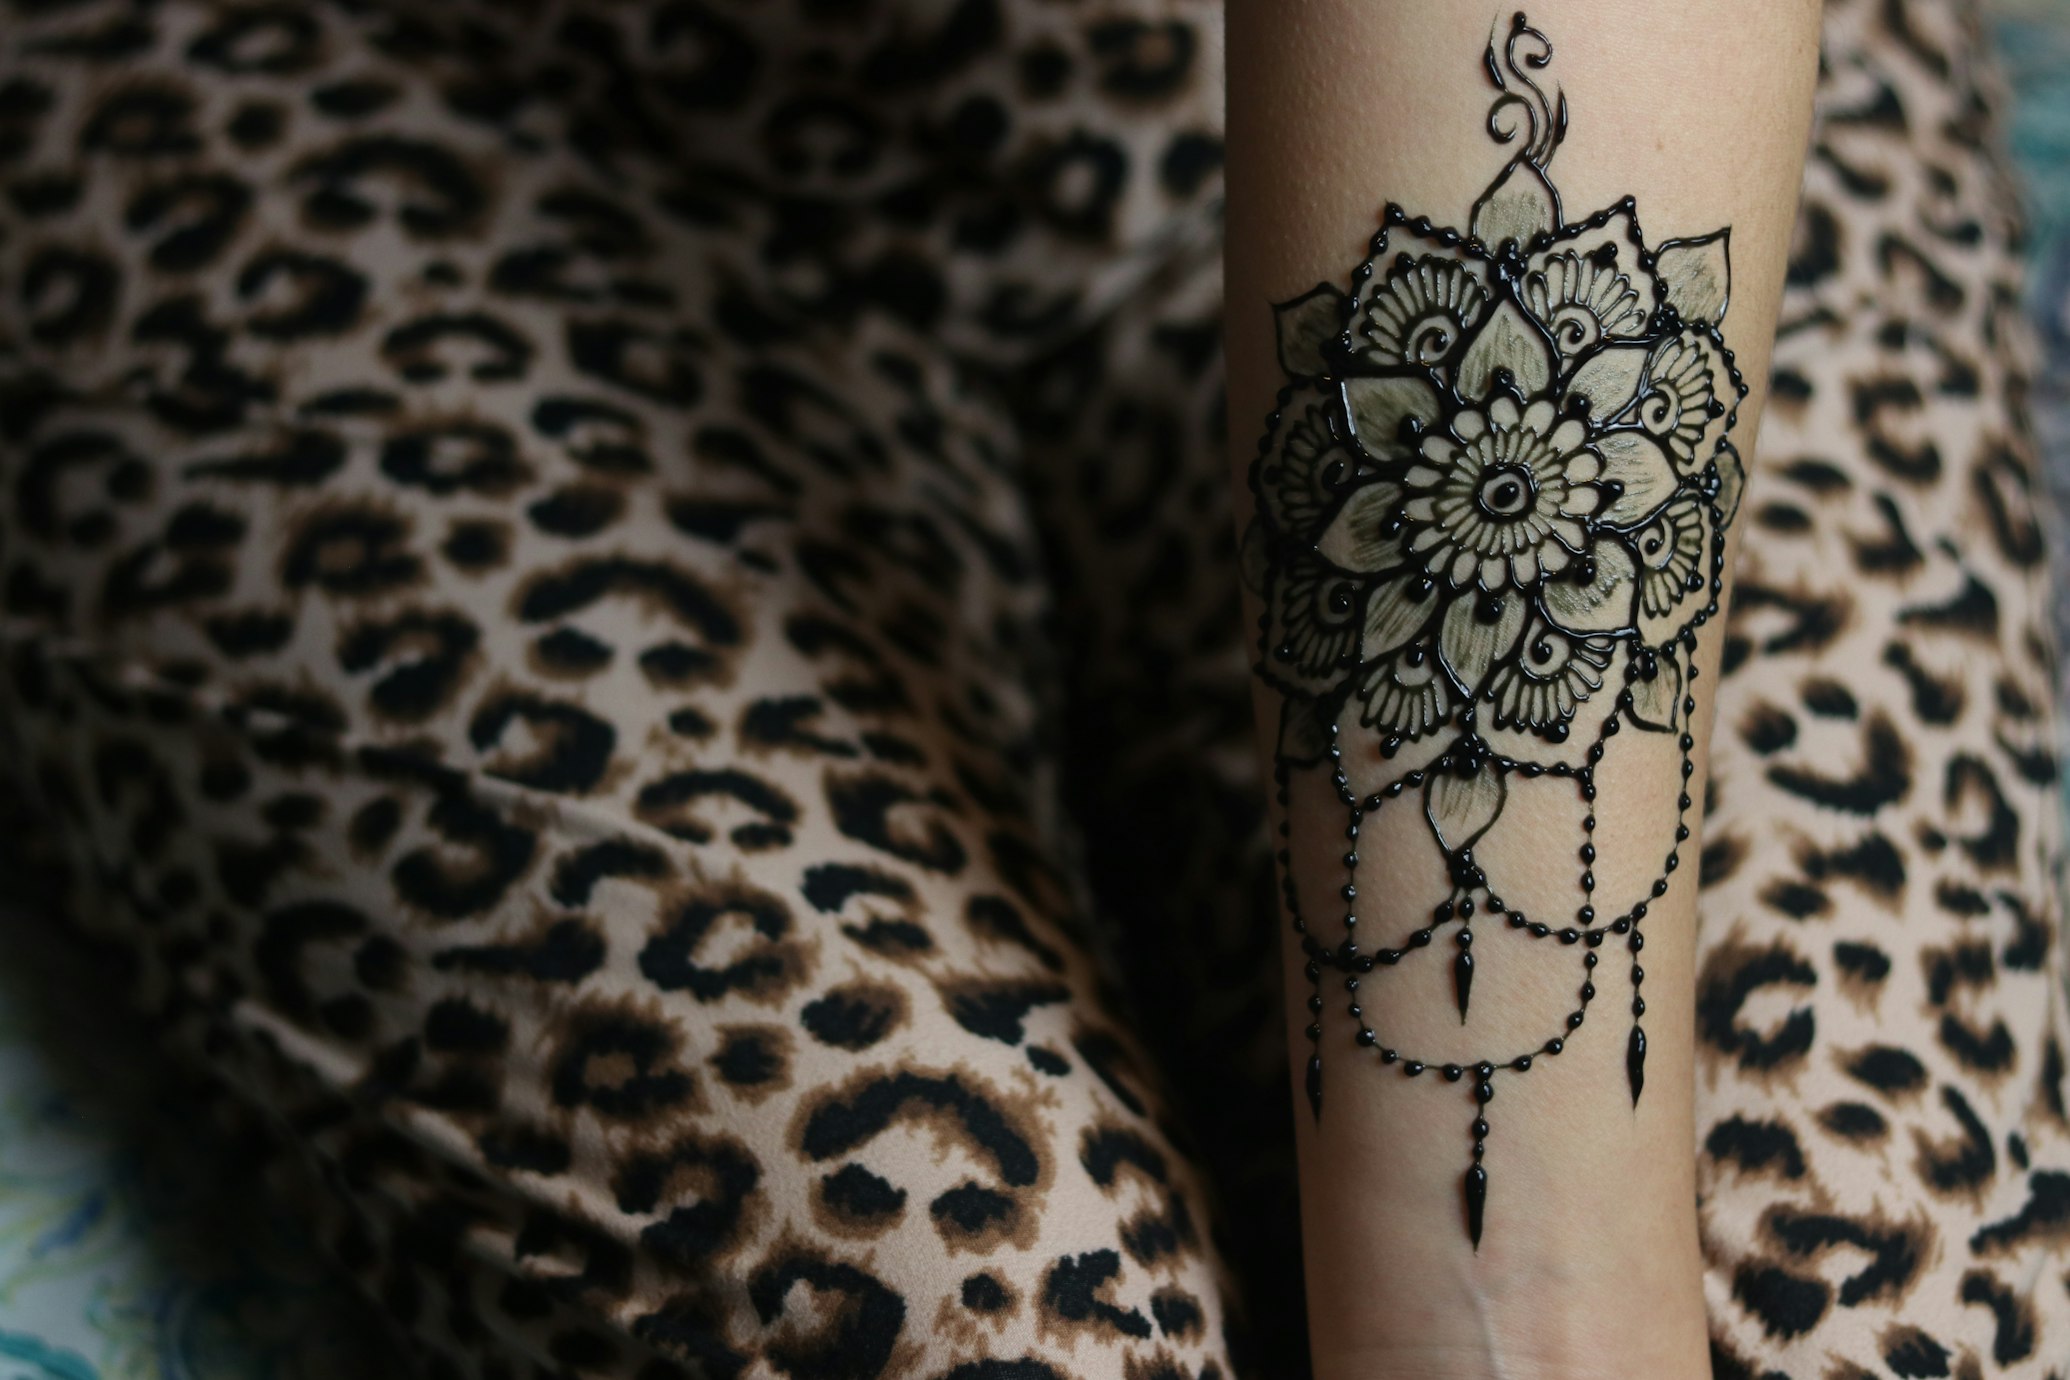
A thick, paste-like mixture is placed on skin in fanciful swirls or symbols, gradually staining the surface as it dries.
Designs can hang around for a week or two, fading naturally—making it perfect for folks who enjoy body art but aren’t quite ready for permanent ink.
Why Henna Appeals to Beginners
- Low Commitment: The stain fades in roughly one to two weeks, so it’s not a forever thing.
- Easy to Practice: Drawing designs on paper or simple shapes on skin can help develop steady hands without major investments in professional equipment.
- Rich Culture: Each design often carries a story, meaning, or aesthetic linked to a broader heritage.
Crafting the Henna Paste
One key element of a great henna tattoo lies in the paste itself. Some buy premade kits (a real lifesaver in a pinch), while others prefer mixing powder and liquid at home. Homemade paste offers a personal touch and can be tweaked to match personal style.
Ingredients and Supplies
- Henna Powder: Around ¼ cup (57 grams) of a quality, pure powder, usually greenish-brown.
- Lemon Juice or Vinegar: About ¼ cup (59 ml), used to activate the dye.
- Sugar or Honey: ½ teaspoon, improving both adhesion and texture.
- Essential Oils: A few drops of eucalyptus, lavender, or tea tree oil for fragrance and to help the paste release its color more effectively.
Mixing Process
- Sift the Powder: Fine powder ensures a smoother paste, free from clumps that could clog your application cone.
- Combine Powder and Liquid: Stir in lemon juice a little at a time until the goop resembles toothpaste.
- Add Sugar and Oil: Sugar contributes to a smoother consistency, and essential oils lend a pleasing aroma.
- Let It Rest: Keep the mix covered with plastic wrap for about 24 hours at room temperature. That resting period encourages the lawsone (the active dye) to release, guaranteeing a richer stain on skin.
After the waiting period, evaluate the consistency. If it’s too thick, drip in a bit more lemon juice or water. If it’s runny, sprinkle in extra powder.
If mixing from scratch feels like too big a project, consider pre-made henna cones from trustworthy brands—they cut out guesswork for first-timers.
Preparing the Skin and Performing a Patch Test
Anyone exploring a new cosmetic product or topical application should be aware of possible allergies. Henna usually sits comfortably on most people’s skin, but a quick patch test is recommended.
Dab a small amount of paste on an inconspicuous spot like the inner forearm, wait 24 hours, and see if any redness or swelling occurs. No reaction means green light for full application.
Skin Prep Essentials
- Clean the Area: Wash with mild soap and water, then pat dry.
- Optional Light Oil Layer: Some artists swear by a tiny layer of eucalyptus oil on the skin right before drawing, though it’s not required.
- Have Supplies Within Reach: Keep cones, cotton swabs, or tissues handy. Mistakes happen—better to fix them quickly than regret an unintended swirl that dried in place.
Step-by-Step Application
A steady hand goes a long way here, so get comfortable. Find a relaxed position where there’s enough support for your elbow and wrist. It’s surprisingly helpful to prop your elbow on a table to maintain control.
Step 1: Simple Patterns First
Those with limited experience might stick to dots, lines, or floral motifs. There’s no shame in starting small—a few graceful lines can look just as lovely as elaborate motifs.
Practice on paper a few times to get the feel of pressing the cone so the henna flows at a consistent pace.
Step 2: Using a Henna Cone
- Hold It Like a Pen: Between thumb and index finger, apply gentle pressure with your palm to push out the paste.
- Go Slow: Rushing can cause the cone to spurt or create wobbly lines.
- Cleanup: If the design smudges, wipe it away with a damp cotton swab before it dries.
Step 3: Drying and Sealing
Henna needs time to sink into the skin’s surface. Typically, it’s best to air dry for at least 30-60 minutes.
Once the paste is no longer wet to the touch, consider covering the design with plastic wrap or a glove. Leaving it on for two to four hours will produce a moderate color, while going up to eight hours can intensify the hue.
Step 4: Removing the Dried Paste
After enough time has passed, gently scrape it off with a fingernail or blunt edge. A little warm water can help remove stubborn residue. The initial stain often looks faint but deepens gradually over 24-48 hours.
Post-Application Care
Great job getting the henna design on skin—now for the part that extends its lifespan. A little nurturing can preserve the pattern so it remains crisp and bold.
24 Hours of “Hands Off Water”
Water is the arch-nemesis of a fresh henna tattoo. Doing dishes or taking a steamy bath right away can rob the design of its full potential.
It helps to schedule the application at a time when you can avoid soaking the area for a day. That might mean planning around showers or dips in the pool.
Natural Oils for Moisture
- Coconut or Almond Oil: Once the paste is off, a gentle rub with either oil a couple of times a day can seal in the stain.
- Avoid Lotion with Alcohol: Some commercial lotions contain ingredients that dry out the skin, which may speed up fading.
Sunlight and Exfoliation
Prolonged sun exposure can bleach out a henna stain. Cover it up or wear sunscreen if the design will be outdoors for hours. Also, stay away from exfoliating scrubs or products meant to brighten skin, because they can fade the art faster than you’d expect.
How Long Does Henna Last?
Duration depends on factors like skin thickness, care routine, and individual body chemistry. Palms and soles frequently showcase more intense color because those spots are thicker and produce more heat, which tends to yield a deeper stain.
On areas like forearms or ankles, the design might lighten a bit faster, often in about a week.
With a steady maintenance routine—avoiding excessive washing, using natural oils, protecting from harsh sunlight—the pattern can hold up for around two weeks.
Creative Design Ideas and Beginner Tips
The beauty of henna lies in endless patterns and motifs. Some folks love bold florals that trail along forearms, while others favor geometric symmetry on the back of the hand.
Though many designs draw on cultural traditions, there’s freedom to mix styles and themes too.
Explore Options Without Overwhelm
A massive swirl of lines and vines can be captivating, but that might prove frustrating if you’re just starting out. Building up skill with simpler shapes is a confidence booster.
Over time, add elements like paisleys, petals, and more elaborate flourishes.
Practice on Paper or Plastic
Gather a few design references—maybe from online galleries or henna guidebooks—and trace them. Trying out lines and dots on paper or a plastic sheet is a quick way to get the motions down. Once the hands are steady, move on to real skin.
Use Stencils as Training Wheels
Many henna supply stores sell stencils (or you can print some from online resources) that cling to skin.
Fill them in with paste, peel them off, and voila—an even, professional-looking outline. It’s okay to start with a “connect the dots” approach. Over time, freehand work feels more natural.
Symmetry Can Elevate a Simple Design
Placing matching designs on both hands or creating a mirrored motif around the center of a palm can give a striking look. Balance draws the eye and can make even basic patterns appear sophisticated.
Have Fun with Friends
Gather a small group, mix up a batch of paste, and take turns practicing. The process becomes a mini social event—akin to painting each other’s nails but with deeper cultural flair.
Encouragement from a buddy eases frustration when lines aren’t perfectly straight at first.
Quick-Reference Chart
| Aspect | Details |
| Paste Prep | Mix ¼ cup henna powder with ¼ cup lemon juice; add sugar and essential oil; let rest 24 hours. |
| Application | Draw on clean skin; dry for 30-60 minutes; leave 2-8 hours under wrap for desired color depth. |
| Removal | Gently scrape off dried paste; rinse with warm water; color darkens over 1-2 days. |
| Lifespan | Usually 1-2 weeks (longer on thicker skin like palms). |
| Care | Keep it dry for 24 hours, oil frequently, protect from sun, avoid exfoliation or harsh soaps. |
| Beginner Designs | Start with dots, lines, floral motifs; practice on paper; use stencils for guidance. |
FAQs
Will I get a dark stain on my forearm?
Palms and soles usually show the deepest color. Forearms can yield decent results but may fade a bit quicker, similar to how city driving can burn more fuel than highway cruising.
Is black henna safe?
Steer clear of “black henna” that contains harmful additives. Real henna has a brownish or reddish tint. That blackish stuff can include chemicals that irritate skin.
How soon can I see a final color?
It generally darkens over a span of one to two days. Don’t panic if it looks light immediately after paste removal.
Can I use store-bought kits?
Absolutely. Many pre-mixed cones or kits on the market are handy for beginners. Just ensure the brand has good reviews and avoids suspicious additives.
What if I mess up mid-design?
Quickly wipe off the smeared paste with a damp tissue before it dries. Then reapply, slow and steady.
Final Thoughts
Henna tattoos offer a brilliant pathway into temporary body art, blending heritage, creativity, and hands-on fun. Mixing a small batch of powder, drawing a simple outline, and watching that gentle stain blossom day by day provides real satisfaction—even more so when friends join the experience.
A bit of practice and mindful care can lead to stunning patterns that won’t vanish overnight. So, give it a shot. Experiment with lines, shapes, and swirling vines, then show off a short-term masterpiece wherever you please.
There’s always another clean patch of skin ready for the next pattern, and that’s part of the charm. Enjoy the process, keep a lighthearted attitude, and watch your henna skills grow with every cone squeezed.